
STICK WITH
THE BEST

Step-by-Step Guide to Applying Sensitive Washi Tape Perfectly
Release Time:
2025-04-17
Source:
Step-by-Step Guide to Applying Sensitive Washi Tape Perfectly
Introduction to Sensitive Washi Tape
Sensitive washi tape has carved a niche for itself in the crafting world, thanks to its versatility and aesthetic appeal. Unlike traditional adhesive tapes, washi tape is made from natural fibers, making it easy to tear, reposition, and remove without leaving a sticky residue. Whether you’re using it for scrapbooking, gift wrapping, or home decor, learning how to apply sensitive washi tape perfectly can elevate your projects significantly.
Understanding the Characteristics of Sensitive Washi Tape
Before we dive into the application techniques, it’s essential to understand what sets sensitive washi tape apart from other types of tape. Here are some defining features:
1. Material Composition
Sensitive washi tape is crafted from rice paper and other natural fibers, providing a unique texture that is both delicate and durable. This composition allows for easy tearing and manipulation, making it a favorite among crafters.
2. Adhesion Quality
The adhesive used in sensitive washi tape is designed to be gentle. This means it can stick well to various surfaces while being easily removable, which is ideal for projects where you might want to make adjustments.
3. Variety of Designs
From floral patterns to geometric shapes, sensitive washi tape comes in countless designs. This variety allows for personalized expression in every crafting endeavor.
Why Choose Sensitive Washi Tape for Your Projects?
Choosing sensitive washi tape offers several advantages:
1. Repositionable
Unlike permanent tapes, the repositionable nature of washi tape allows you to make changes during the application process without damaging your underlying surfaces.
2. Aesthetic Appeal
The visual charm of washi tape adds a decorative flair to any project, making it suitable for both functional and artistic purposes.
3. Eco-Friendly Option
Being made from natural fibers, sensitive washi tape is an eco-friendly alternative to plastic-based tapes, appealing to environmentally conscious consumers.
Essential Tools and Materials for Applying Sensitive Washi Tape
To achieve a perfect application, gather the following tools and materials:
- Sensitive washi tape in your desired design
- Scissors for precise cutting
- A ruler or straight edge for alignment
- A craft knife for intricate cuts
- A clean, dry surface for application
Step-by-Step Guide to Applying Sensitive Washi Tape
Step 1: Prepare Your Surface
Ensure your application surface is clean, dry, and free from dust or debris. A smooth surface will allow the tape to adhere better and create a more polished look.
Step 2: Measure and Cut the Tape
Using a ruler, measure the length of washi tape you need for your project. For best results, cut the tape using scissors or a craft knife. Ensure the edges are clean to avoid any fraying.
Step 3: Position the Tape
Before adhering the tape, position it without pressing down to check for alignment. This allows you to make any necessary adjustments. If you’re working with multiple strips, it’s helpful to use a level or straight edge to maintain uniformity.
Step 4: Apply the Tape
Once you’re satisfied with the positioning, press down gently from one end to the other, ensuring that no air bubbles form underneath. If bubbles do occur, lift the tape carefully and reapply it, smoothing it down gradually.
Step 5: Secure the Edges
Using your fingers or a craft tool, secure the edges of the tape firmly to prevent lifting over time. This step is vital for maintaining a neat appearance and ensuring durability.
Step 6: Finishing Touches
If your project requires it, you can trim the ends of the tape for a cleaner look. This is especially useful for intricate designs or when layering strips of tape.
Common Mistakes to Avoid When Applying Wasabi Tape
1. Not Cleaning the Surface
A dirty surface can prevent proper adhesion and lead to peeling. Always clean your surface before application.
2. Pulling the Tape Too Hard
Applying too much tension while pulling the tape can cause it to stretch or tear. Use gentle pressure for the best results.
3. Not Planning Your Design
Failing to plan your layout can result in misalignment. Take time to visualize your design before you start sticking.
Creative Ways to Use Sensitive Washi Tape
Once you master the application process, consider these creative uses for sensitive washi tape:
1. Gift Wrapping
Enhance your gift presentations with stylish washi tape. Use it to seal wrapping paper or as decorative accents on gift boxes.
2. Scrapbooking
Add a touch of flair to your scrapbook pages. Use washi tape to create borders, frames, or as part of a larger design.
3. Home Decor
Transform plain items around your home, such as vases or picture frames, by applying washi tape. It’s a simple way to refresh your decor.
4. Labeling and Organization
Use washi tape to create labels for jars, boxes, or files. Write directly on the tape, making organization both efficient and visually appealing.
FAQs about Applying Sensitive Washi Tape
1. Can I reuse washi tape?
Yes, washi tape can often be reused, provided it is removed carefully and the adhesive hasn’t worn down.
2. Is washi tape waterproof?
Most washi tapes are not waterproof. If your project requires waterproofing, consider sealing it with an appropriate finish.
3. How do I remove washi tape without damaging the surface?
To remove washi tape, gently peel it back at a 45-degree angle. If it resists, use a heat source like a hairdryer to loosen the adhesive slightly.
4. Can I write on washi tape?
Yes! You can write on washi tape with most pens and markers, but it’s wise to test a small area first.
5. Is washi tape suitable for outdoor use?
Washi tape is primarily intended for indoor use. If used outdoors, its longevity may decrease due to exposure to elements.
Conclusion
Mastering the application of sensitive washi tape opens up a world of creative possibilities. By following this step-by-step guide, you can ensure that each project not only looks beautiful but also stands the test of time. Practice these techniques, and soon, applying washi tape will become second nature. Enjoy the process of creating and let your imagination run wild with this versatile crafting tool!
Related Information
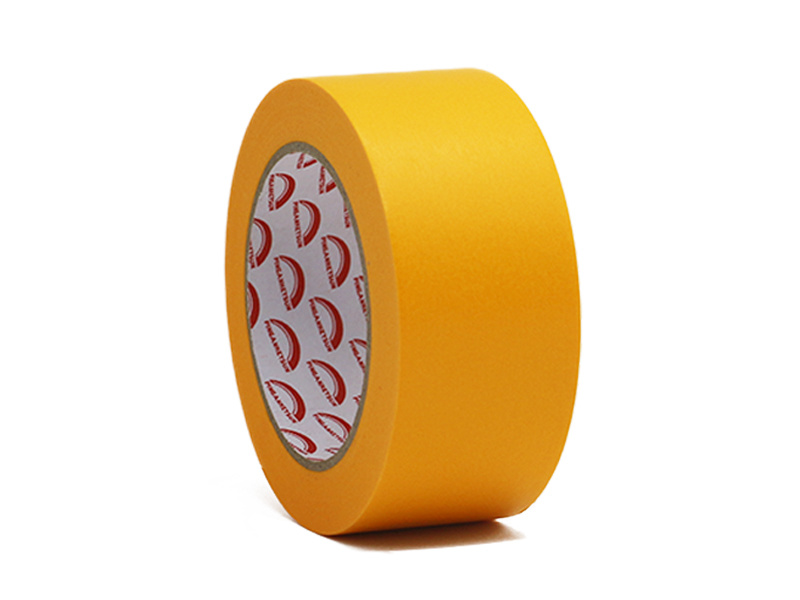
From Simple to Stunning: Transform Your Space with Golden Washi Tape
From Simple to Stunning: Transform Your Space with Golden Washi Tape Table of Contents 1. Introduction to Golden Washi Tape 2. Benefits of Using Golden Washi Tape in Home Decor 2.1 Cost-Effective Decorating Solution 2.2 Versatility and Ease of Use 2.3 Eco-Friendly Choice 3. Creative Ways to Use Golden Washi Tape 3.1 Accent Walls and Borders 3.2 DIY Art Projects 3.3 Gift Wrappin

Unleashing the Power of High Adhesive Washi Tape: A Versatile Tool for Creative Packaging
High Adhesive Washi Tape is a highly versatile product that has been gaining popularity due to its unique properties, making it an essential tool for professionals in the light industrial goods sector, particularly in the realm of labeling, tapes, and adhesive products. Unlike traditional tapes, Washi Tape is crafted from natural fibers, giving it a distinct texture and appearance that can enhance
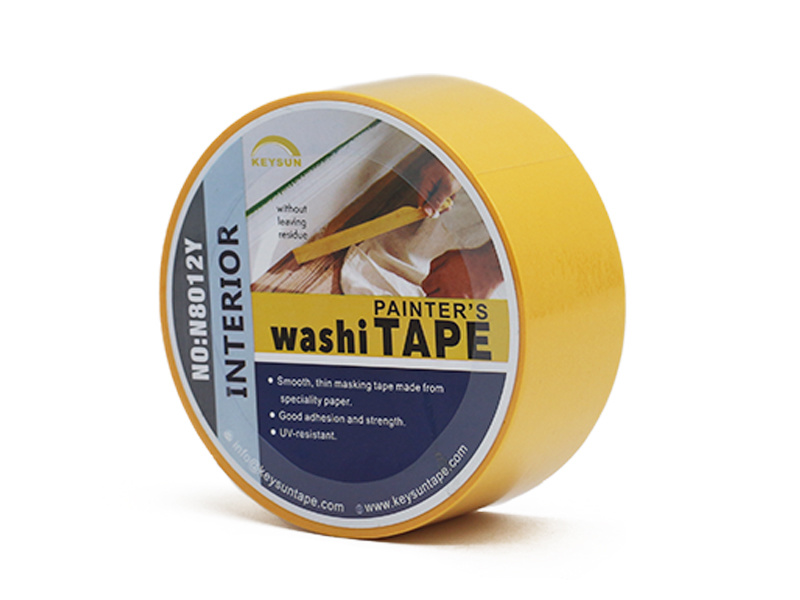
Mastering DIY: Expert Tips for Using Delicate Masking Tape to Achieve Perfect Edges
Mastering DIY: Expert Tips for Using Delicate Masking Tape to Achieve Perfect Edges Table of Contents Understanding Delicate Masking Tape Benefits of Using Delicate Masking Tape Choosing the Right Masking Tape for Your Project Essential DIY Techniques Using Masking Tape Prepping Your Surface for Masking Tape Application Steps for Achieving Perfect Edges with Masking Tape Common Mist
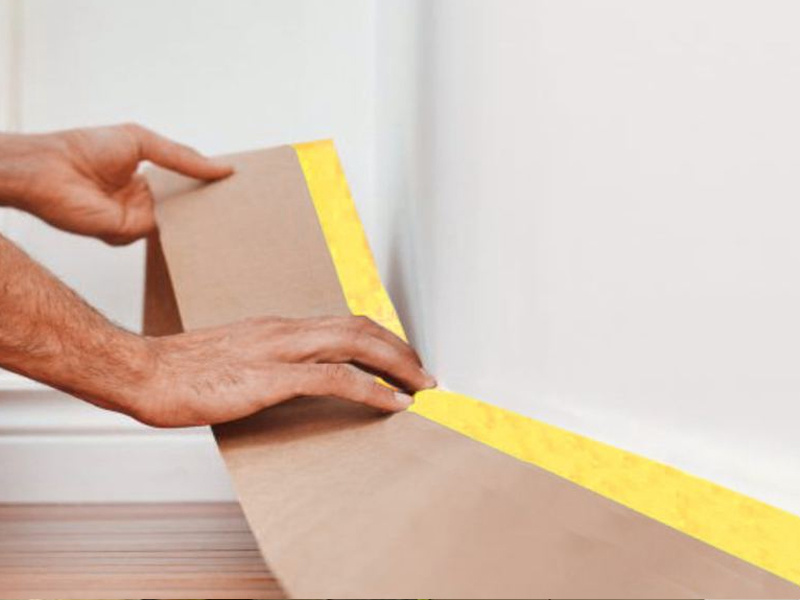
Unlocking the Versatility of EVO Colored Masking Tape: A Comprehensive Guide
EVO Colored Masking Tape is a remarkable adhesive product widely used in various industries, particularly in packaging, labeling, and creative applications. This versatile tape is designed to meet the needs of professionals who require reliable and efficient solutions for their projects. With its unique color options and features, EVO Colored Masking Tape stands out as an invaluable tool for both
// GET A QUOTE
Leave us a message !
At Keysun, we value partnerships and look forward to the opportunity to work with you. Explore our website to learn more about our products and services, and discover how we can meet your needs with our exceptional quality and expertise.
USA Office:
Address: 14380 Telephone Ave, Chino, CA 91710
China Office:
WeChat ID:
1159223657
Address: No.38,changzhong road, zhongluotan town,baiyun dist.,guangzhou, guangdong,China


COPYRIGHT©2024 Guangzhou Baiyun District KEYSUN Decorative Materials Factory Co., Ltd ALL RIGHTS RESERVED